
BB60C Remote Control System Solution: Implementation Guide
BB60C Remote Control System Solution: Implementation Guide
The BB60C, a high-performance USB-powered real-time spectrum analyzer from SignalHound, is widely recognized for its portability, wide frequency range (100 kHz to 6 GHz), and excellent real-time signal capture capabilities. In scenarios such as remote RF monitoring, distributed test systems, or field operations requiring off-site control, implementing a remote control system for the BB60C enables engineers to operate the analyzer, acquire data, and perform analysis from a remote location—greatly enhancing workflow flexibility and reducing on-site deployment costs. This document details a practical BB60C remote control system solution, covering core components, implementation steps, key considerations, and advantages.
1. Solution Overview
The BB60C remote control system is built on a "local host + remote client" architecture, leveraging network communication to transmit control commands and test data between the remote client and the BB60C-connected local host. The core principle is: the BB60C is physically connected to a local host (equipped with Spike software and BB60C drivers); the local host runs a remote control server or virtualization software to share the BB60C’s resources and Spike’s operation interface; the remote client accesses the local host via a network (LAN/WAN) to realize remote operation of the BB60C, including parameter configuration, real-time spectrum scanning, data acquisition, and result analysis.
This solution supports two main remote control modes to adapt to different application scenarios: Remote Desktop Mode (suitable for quick deployment, no need for secondary development) and API-Based Client-Server Mode (suitable for customized distributed systems, supporting multi-client concurrent access).
2. Core Components Required
• Hardware: BB60C real-time spectrum analyzer; Local host (PC/laptop with Windows or Linux system, USB 3.0 port, and network card); Remote client (PC/laptop/tablet with network access); Network equipment (router, switch, or 4G/5G module for WAN access); USB cable (for connecting BB60C to local host).
• Software: Spike spectrum analysis software (latest version, compatible with local host OS); BB60C device drivers (included in Spike installation package); Remote desktop software (e.g., Windows Remote Desktop, VNC Server/Viewer, TeamViewer for cross-platform use); SignalHound SDK (for API-based mode, supporting C/C++, Python, etc.); Network configuration tools (for port forwarding, firewall settings).
3. Implementation Steps for Two Remote Control Modes
3.1 Remote Desktop Mode (Quick Deployment)
This mode is the simplest to implement, using mature remote desktop software to share the local host’s desktop, allowing the remote client to directly operate the Spike software and control the BB60C as if on-site. It is recommended for small-scale, single-user remote operations.
1. Local Host Setup:
○ Connect the BB60C to the local host via USB 3.0 cable, install the latest Spike software and BB60C drivers. Launch Spike to verify that the BB60C is correctly recognized (check "Device Manager" on Windows or "lsusb" command on Linux).
○ Install and configure remote desktop server software on the local host:
▪ For Windows local host: Enable built-in "Remote Desktop" (Settings > System > Remote Desktop), set a login password for the local host account, and record the local host’s IP address (use "ipconfig" command in CMD).
▪ For Linux local host (e.g., Ubuntu): Install VNC Server (e.g., TigerVNC) via command line: sudo apt install tigervnc-standalone-server, set a VNC password, and start the server with vncserver :1 (the ":1" represents the display port).
▪ For cross-platform access (Windows/Linux/macOS client): Install TeamViewer on both local host and remote client, create an account, and log in to realize one-click remote connection (no need for complex IP configuration).
○ Configure the local host’s firewall: Allow incoming connections for the remote desktop software (e.g., allow Remote Desktop through Windows Firewall, or open VNC port 5901 via sudo ufw allow 5901/tcp on Linux).
2. Remote Client Setup:
○ Install the corresponding remote desktop client software (Windows Remote Desktop, VNC Viewer, or TeamViewer) based on the local host’s configuration.
○ Connect to the local host:
▪ For Windows Remote Desktop: Enter the local host’s IP address, input the local host account and password, and click "Connect".
▪ For VNC Viewer: Enter the local host’s IP address + display port (e.g., 192.168.1.100:1), input the VNC password, and establish the connection.
▪ For TeamViewer: Enter the local host’s TeamViewer ID and password, or use the "Unattended Access" function for automatic connection.
○ After successful connection, the remote client can directly operate the Spike software on the local host’s desktop: configure BB60C parameters (frequency range, RBW, sweep time), start real-time spectrum scanning, view waterfall displays, capture interference signals, and save test data to the local host or remote client.
3.2 API-Based Client-Server Mode (Customized Deployment)
This mode uses SignalHound’s official SDK to develop a custom server program on the local host (to manage BB60C hardware and data transmission) and a client program on the remote end (to send control commands and receive test data). It is suitable for large-scale distributed test systems, multi-client concurrent control, or integration with third-party test platforms.
3. Local Host (Server) Development & Setup:
○ Install SignalHound SDK on the local host (compatible with Windows/Linux, downloadable from SignalHound’s official website). The SDK provides C/C++ static libraries, header files, and Python bindings, as well as detailed API documentation.
○ Develop the server program using the SDK: The server’s core functions include: initializing the BB60C device, listening for remote client connection requests, receiving control commands (e.g., set frequency range, start/stop scanning), executing commands via BB60C API, acquiring real-time spectrum data/IQ data, and transmitting data back to the remote client via network protocols (TCP/UDP).
○ Example of core server code (Python snippet for BB60C initialization):
import signalhound
# Initialize BB60C
bb = signalhound.BB60C()
if not bb.is_connected():
print("Failed to connect to BB60C")
else:
print("BB60C connected successfully")
# Set basic parameters (example: 1 GHz center frequency, 100 MHz span)
bb.set_center_freq(1000e6) # 1 GHz
bb.set_span(100e6) # 100 MHz span
bb.set_rbw(100e3) # 100 kHz RBW
○ Deploy the server program on the local host, configure the server to listen on a specific port (e.g., TCP port 8080), and ensure the firewall allows incoming connections on this port.
4. Remote Client Development & Setup:
○ Develop the client program (compatible with Windows/Linux/macOS) using the same programming language as the server (or cross-language via standard network protocols). The client’s core functions include: establishing a network connection with the server, providing a user interface (UI) for parameter configuration, sending control commands to the server, receiving real-time spectrum data/IQ data, and displaying data (e.g., spectrum plots, waterfall diagrams) or saving data locally.
○ Implement data transmission optimization: For real-time spectrum data (large data volume), use UDP protocol for low-latency transmission; for control commands (small data volume, high reliability), use TCP protocol. Compress data if necessary to reduce network bandwidth consumption.
○ Test the client-server connection: Run the server program on the local host, launch the client program on the remote end, enter the server’s IP address and port, establish the connection, and verify that parameter configuration commands are correctly executed and real-time data is accurately transmitted.
4. Key Considerations for Remote Control
• Network Stability & Bandwidth: Real-time spectrum data transmission requires stable network connectivity. For LAN access, use a wired network (Ethernet) to avoid wireless interference; for WAN access (e.g., remote field monitoring), use 4G/5G modules with sufficient bandwidth (recommended bandwidth ≥ 10 Mbps for real-time data transmission). Enable QoS (Quality of Service) on the router to prioritize data transmission for the BB60C remote control system.
• Device Power Supply: For field remote operations, ensure the local host and BB60C have reliable power supply. The BB60C can be powered via USB (from the local host) or an external 5V DC power supply. Use uninterruptible power supply (UPS) for critical applications to prevent data loss due to sudden power outages.
• Security Configuration: For WAN remote access, avoid using default ports and weak passwords. Enable encryption for remote desktop connections (e.g., RDP encryption, VNC SSL encryption) or use a virtual private network (VPN) to establish a secure connection between the remote client and local host. Restrict access to the local host’s IP address to authorized clients only.
• Software & Firmware Updates: Keep Spike software, BB60C drivers, and SDK on the local host up to date to ensure compatibility with remote control functions and fix potential bugs. Update the BB60C’s firmware via Spike software before deploying the remote system.
5. Advantages of the BB60C Remote Control System
• Flexible Operation: Engineers can remotely control the BB60C from any location with network access, eliminating the need for on-site presence and reducing travel costs and time.
• 24/7 Continuous Monitoring: The remote system supports unattended continuous monitoring of the RF environment, capturing intermittent or long-term interference signals that are difficult to detect with on-site testing.
• Scalability: The API-based client-server mode supports multi-client concurrent access and integration with third-party test platforms, enabling the construction of large-scale distributed RF monitoring systems.
• Cost-Effective: Leveraging mature network technologies and SignalHound’s SDK, the solution requires no additional expensive hardware, reducing overall system deployment costs. The BB60C’s USB-powered portability further lowers field deployment costs.
6. Typical Application Scenarios
• Remote RF Interference Monitoring: Deploy the BB60C and local host in a remote area (e.g., near a cellular tower, IoT device deployment site), and remotely monitor the RF environment to detect and locate interference signals.
• Distributed Test Systems: In a production line or laboratory, connect multiple BB60C analyzers to different local hosts, and use a central remote client to control all BB60Cs simultaneously, realizing parallel testing of multiple devices.
• Field Emergency Troubleshooting: For field RF system failures (e.g., broadcast signal disruption, wireless network outage), deploy the BB60C on-site, and engineers can remotely control the analyzer to quickly diagnose the problem without traveling to the field.
• Academic Research & Teaching: In universities or research institutions, share a BB60C among multiple students/researchers via remote control, enabling them to conduct RF experiments from different laboratories or off-campus locations.
In conclusion, the BB60C remote control system solution, with its two flexible implementation modes, enables efficient remote operation and data acquisition of the BB60C analyzer. By following the implementation steps and key considerations outlined in this document, users can build a stable, secure, and scalable remote control system that adapts to diverse application scenarios, maximizing the value of the BB60C in RF testing and monitoring.
Recently Posted
-
Cost-Benefit Analysis: Why Choose Signal Hound BB60D for RF Testing Projects
July 2, 2026Cost-Benefit Analysis: Why Choose Signal Hound BB60D for RF Testing ProjectsIn enterprise RF testing projects, laboratory scientif Read More
 -
Ultimate Buying Guide for Signal Hound BB60D Real-Time Spectrum Analyzer: Features, Uses & Benefits
July 2, 2026Ultimate Buying Guide for Signal Hound BB60D Real-Time Spectrum Analyzer: Features, Uses & BenefitsFor RF engineers, laborator Read More
 -
Common Application Scenarios & User Cases of Signal Hound BB60D Spectrum Analyzer
July 2, 2026Common Application Scenarios & User Cases of Signal Hound BB60D Spectrum AnalyzerThe Signal Hound BB60D real-time spectrum ana Read More
 -
Signal Hound BB60D for Radar Signal Analysis & Pulse Signal Testing
July 2, 2026Signal Hound BB60D for Radar Signal Analysis & Pulse Signal TestingRadar signal analysis and pulse signal testing are high-pre
Read More

Contact Us
Recommended Products
-
 Signal Hound SM200C 100 KHz to 20 GHz Real-time Spectrum Analyzer With 10GbE Monitoring ReceiversNegotiableMOQ: 1 Unit
 -
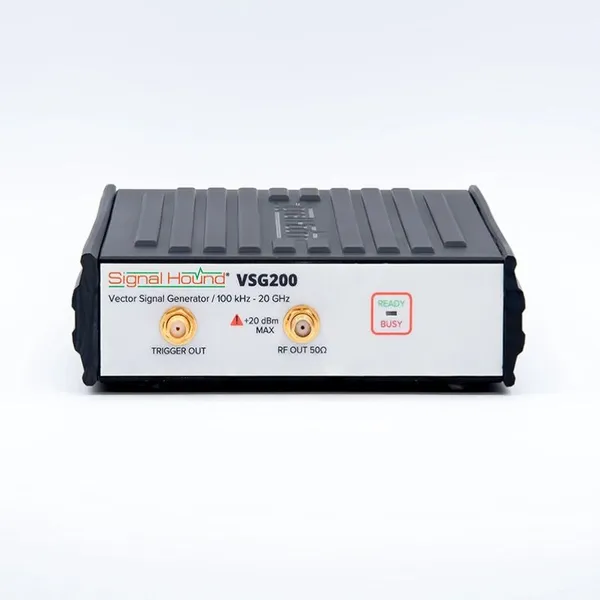
Signal Hound VSG200 Vector Signal Generator 100 KHz to 20 GHzNegotiableMOQ: 1 Unit
-
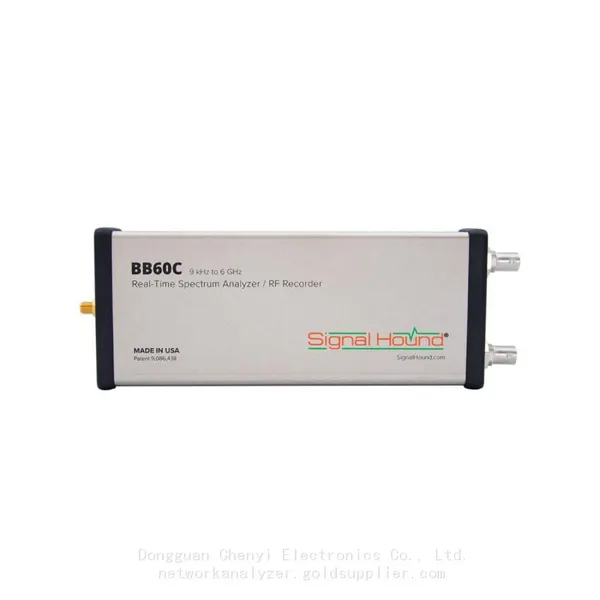
Signal Hound BB60C 9 KHz to 6 GHz Real-time Spectrum AnalyzerNegotiableMOQ: 1 Unit
-
Signal Hound BB60D 9 KHz to 6 GHz Real-time Spectrum AnalyzerNegotiableMOQ: 1 Unit
-
Signal Hound SP145 100 KHz to 14.5 GHz Real-time Spectrum Analyzer Monitoring ReceiversNegotiableMOQ: 1 Unit

-
Signal Hound VSG60A 50 MHz to 6 GHz GHz Vector Signal GeneratorNegotiableMOQ: 1 Unit
-
Signal Hound VSG25A 100 MHz to 2.5 GHz Vector Signal GeneratorNegotiableMOQ: 1 Unit
-
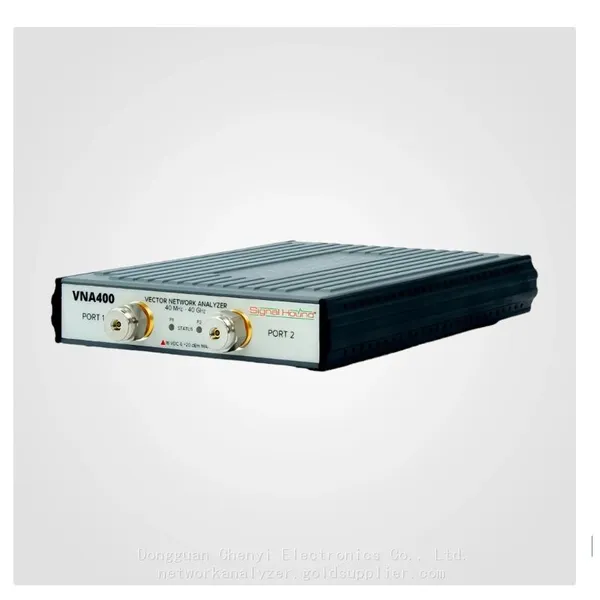
Signal Hound VNA400 40 MHz to 40 GHz 2-port Vector Network AnalyzerNegotiableMOQ: 1 Unit
-
Signal Hound PCR4200 100 KHz to 20 GHz Four-Channel Phase Coherent ReceiverNegotiableMOQ: 1 Unit
-
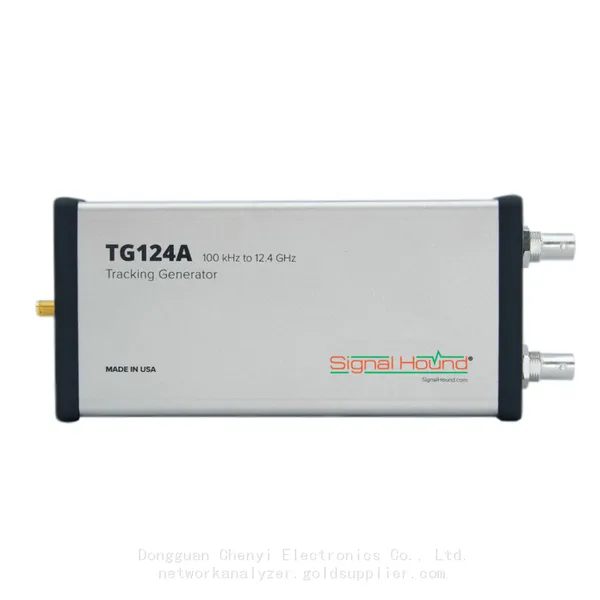
Signal Hound TG124A 100 KHz to 12.4 GHz Tracking GeneratorNegotiableMOQ: 1 Unit

-
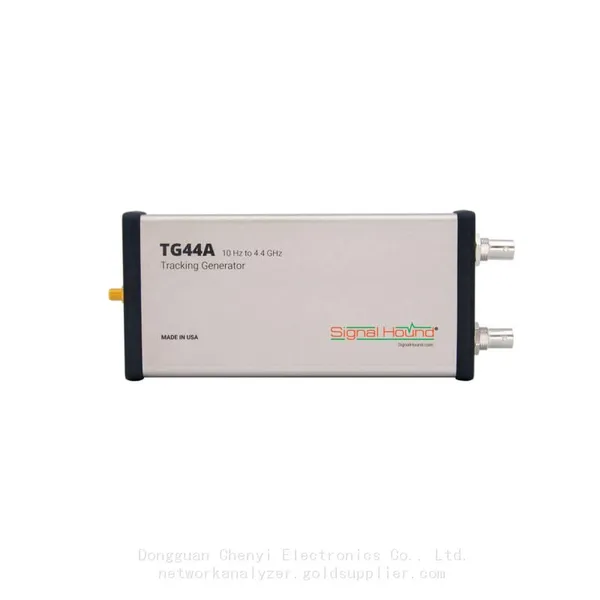
Signal Hound TG44A 10 Hz to 4.4 GHz t Tracking GeneratorNegotiableMOQ: 1 Unit
-
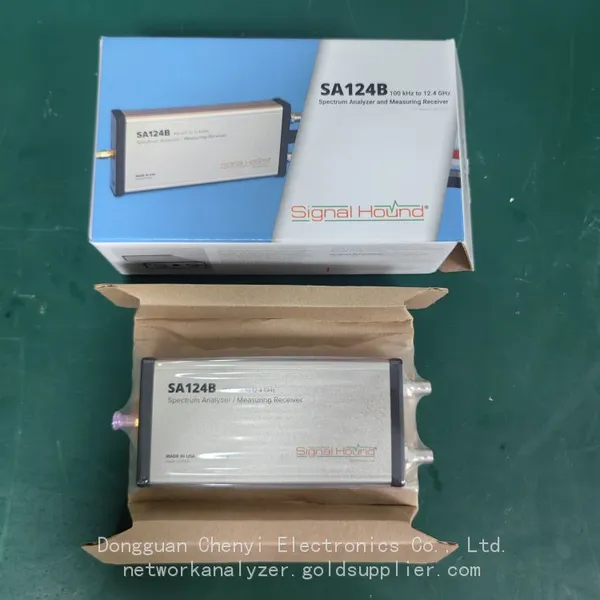
Signal Hound SA124B 100 KHz to 12.4 GHz Spectrum AnalyzerNegotiableMOQ: 1 Unit
-
Signal Hound SA44B 1 Hz to 4.4 GHz Spectrum AnalyzerNegotiableMOQ: 1 Unit
-
Signal Hound SM200B 100 KHz to 20 GHz Real-time Spectrum Analyzer Monitoring ReceiversNegotiableMOQ: 1 Unit
-
Signal Hound SM435C 100 KHz to 43.5GHz Real-time Spectrum Analyzer With 10GbE Monitoring ReceiversNegotiableMOQ: 1 Unit
-
Signal Hound SM435B 100 KHz to 43.5GHz Real-time Spectrum Analyzer Monitoring ReceiversNegotiableMOQ: 1 Unit
-
Signal Hound PN400 Phase Noise and VCO Test System 100 KHz to 43.5 GHzNegotiableMOQ: 1 Unit
-
Keysight E4980A Precision LCR Meter 20 Hz to 2 MHzNegotiableMOQ: 1 Unit
-
Keysight E4980B and E4980BL Precision LCR Meter 20 Hz to 2 MHzNegotiableMOQ: 1 Unit
-
Keysight U1733C Handheld LCR Meter 100Hz 120Hz 1kHz 10kHz 100kHzNegotiableMOQ: 1 Unit